Have you heard about microgreens? They’re these small, super tasty greens that chefs and healthy eaters love. Growing microgreens in a greenhouse is a super cool idea! Ready to try growing your microgreens in a greenhouse? Let’s get started!
What Are Microgreens?
Microgreens are like baby plants. They are the tiny versions of veggies and herbs we eat, like radish and basil. Even though they’re short, they have tons of flavor and are really useful for you. People use them to add a yummy touch to salads and dishes.
Why Growing Microgreens in a Greenhouse?
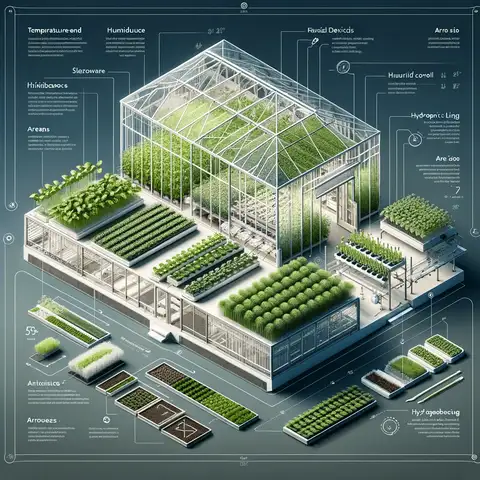
Here’s why:
Perfect Growing Conditions
- Controlled Space: The temperature and air are just right for the microgreens.
- Grow All Year: You don’t have to wait for summer. You can grow microgreens anytime, even in winter!
- Safe from Bugs and Bad Weather: The walls of the greenhouse keep out bugs and bad weather, which can hurt these little plants.
Saves Water and Space
- Small and Neat: Microgreens don’t need much room, so that you can grow a lot in a small space.
- Less Water Needed: Greenhouses can use water really well, which is good for these tiny plants.
Makes Money and Helps the Earth
- Quick to Grow: Microgreens grow fast, so you don’t have to wait long to get them.
- People Want Them: Lots of people want to buy fresh, local microgreens for their meals.
Setting Up Your Greenhouse for Microgreens
Growing microgreens in a greenhouse is exciting, but it needs some planning.
Choosing the Right Spot and Structure
- Location, Location, Location: Find a spot where your greenhouse gets enough light.
- The Right Greenhouse: Pick a greenhouse that suits your space. It could be a big one if you have lots of room or a small one if you’re tight on space.
Getting the Climate Just Right
- Temperature Matters: Microgreens love a cozy temperature, not too hot, not too cold. Aim for about 65-75°F for the best growth.
- Humidity Control: Keep the air in the greenhouse a bit moist, but not too wet. About 40-60% humidity is perfect for microgreens.
Let There Be Light
- Natural Sunlight: If your greenhouse gets lots of sun, that’s awesome! Sunlight is the best for plants.
- Artificial Lights: No worries if you don’t get enough sun. You can use grow lights. LED or fluorescent lights work well for microgreens.
- Balancing Light: Too much or too little light can be tricky. Aim for about 12-16 hours of light a day for your tiny greens.
Setting up your greenhouse right means your microgreens get the best start. With the right spot, a cozy climate, and good light, you’re on your way to growing some tasty and healthy microgreens!
Soil and Growing Mediums for Microgreens in a Greenhouse
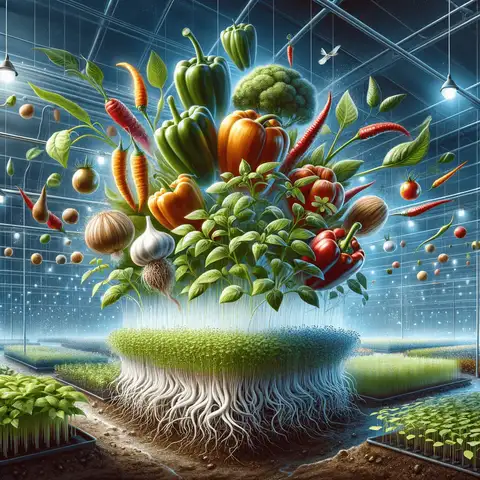
When you’re growing microgreens, the soil and growing mediums you choose are super important.
Best Soil Mixtures for Microgreens
- Light and Fluffy: Go for a soil mix that is light and has good drainage.
- Nutrient-Rich: Look for soil that’s got lots of good stuff in it, like compost or worm castings. This gives your microgreens the food they need to grow.
- No Big Clumps: Make sure the soil is fine and doesn’t have big chunks. This makes it easier for the tiny roots to grow.
Cool Alternatives to Soil
- Hydroponics: This is a way of growing plants in water! Microgreens love this because they get all their nutrients straight from the water. No soil needed!
- Coconut Coir: This is made from coconut husks and is a great soil alternative. It holds water well and is super for growing microgreens.
Keeping the Soil Healthy and Clean
- Soil Health is Key: Healthy soil means healthy plants. Make sure your soil stays full of good nutrients.
- Sterilize for Safety: Before you use your soil, it’s a good idea to sterilize it. This gets rid of any bad bugs or diseases that could hurt your microgreens.
- Regular Checks: Keep an eye on your soil.
Choosing the right soil or growing medium is a big step in making your microgreens a success.
Selecting the Right Microgreen Varieties for Your Greenhouse
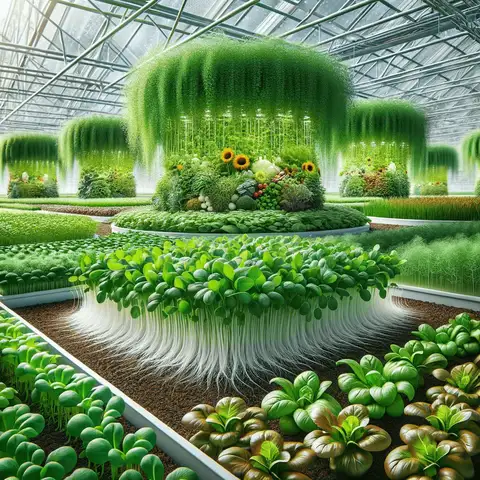
Growing microgreens is fun, and picking the right varieties makes it even better! Here’s how to choose.
Popular Varieties for Greenhouse Growing
- Radishes: They grow fast and add a spicy kick to your dishes.
- Peas: Sweet and crunchy, perfect for salads.
- Broccoli: Full of nutrients and has a mild, fresh taste.
- Sunflowers: Their nutty flavor is a hit in many recipes.
- Arugula: Adds a peppery zing to any meal.
Thinking About the Seasons
- Cool Weather Loves: Peas and broccoli are great for cooler temperatures in your greenhouse.
- Summer Stars: Radishes and sunflowers thrive in warmer conditions.
- Year-Round Favorites: Arugula and mustard greens can grow well in most greenhouse conditions.
Trying New and Exotic Varieties
- Experiment: Mix things up by trying unusual microgreens like amaranth or shiso.
- Research: Read up on their growing needs and flavors.
- Start Small: Try a small batch first to see how they grow in your greenhouse conditions.
You can stick with the popular ones, match your choices to the seasons, or even experiment with some exotic flavors.
Planting and Growing Microgreen Seeds
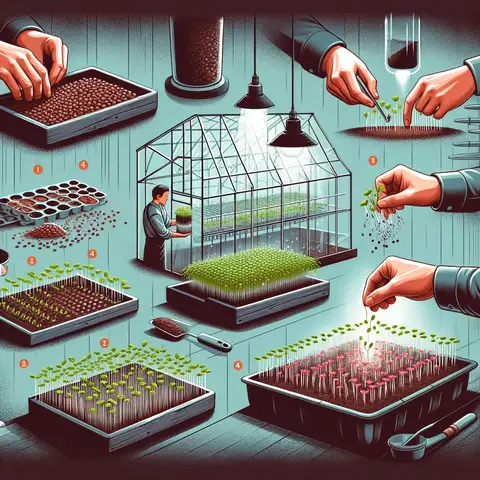
They are easy and fun to grow. Here’s how you do it:
How to Plant Microgreen Seeds
- Get Your Trays Ready: Use small trays that have little holes at the bottom. Fill them with soil or something like soil that plants can grow in.
- Sprinkle the Seeds: Put the seeds all over the top of the soil. If you want lots of plants, use more seeds.
- Cover Them Up: Push the seeds gently into the soil. You can put a little bit of soil on top, but some seeds need light and should not be covered.
- Water Them Right: Use a spray bottle to put water on the soil. Make it damp but not too wet.
Making Seeds Grow (Germination)
- Warmth Helps: Seeds like it warm, around 65-75°F, to start growing.
- Time to Grow: It takes about 3-7 days for the seeds to start growing.
- Look for Leaves: When you see the first real leaves (not the tiny first ones), your microgreens are almost ready!
Tips to Grow Them Well
- Keep Soil Damp: Make sure the soil stays damp. If it’s dry, the seeds might not grow.
- Light is Important: Once seeds start to grow, they need light. If you’re using lights, put them close to the plants.
- Give Them Room: Wait to put the seeds too close together. They need space to grow.
- Check Every Day: Microgreens grow quickly. Look at them each day to make sure they have what they need.
Planting and growing microgreens is really fun. Just follow these steps, and soon, you’ll have your little plants to enjoy! ????????????
Watering and Nutrient Management for Microgreens
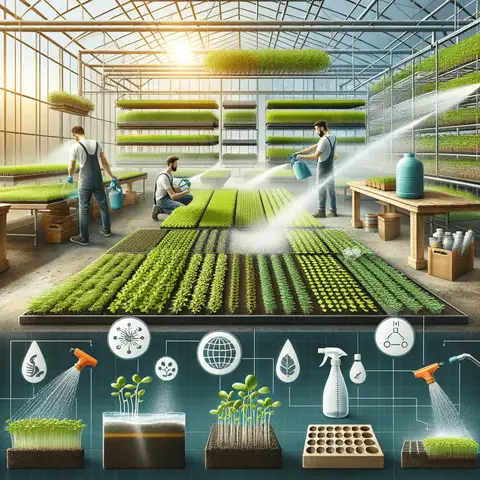
Taking care of microgreens involves more than just planting and watching them grow. Watering them the right way and giving them the nutrients they need are key steps.
Effective Watering Techniques
- Use a Spray Bottle or Misting System: Microgreens need gentle watering. A spray bottle or a misting system is perfect for this.
- Check the Soil Daily: The top layer of the soil should always be moist. If it’s dry, it’s time to water.
- Avoid Over-Watering: Too much water can drown the tiny roots. Make sure your trays have drainage.
Providing Essential Nutrients
- When to Start: Microgreens get their initial nutrients from the seed itself. After they’ve grown their first true leaves, they might need extra nutrition.
- Balanced Fertilizer: Use a balanced liquid fertilizer diluted to quarter strength.
- Organic Options: For organic growing, fish emulsion or seaweed extracts are great.
Organic Fertilization Options
- Compost Tea: This natural fertilizer is full of nutrients. It’s made from steeped compost and is gentle enough for microgreens.
- Worm Castings: These are another great organic option. Mix them into your soil for a nutrient-rich growing medium.
Managing Light and Temperature for Microgreens in a Greenhouse

To grow healthy microgreens in your greenhouse, getting the light and temperature just right is super important.
Creating Optimal Light Conditions
- Natural Sunlight: If your greenhouse gets plenty of sun, you’re in luck! Position your microgreen trays where they can get lots of indirect sunlight.
- Artificial Lighting: Need more sun? Use grow lights. LED lights are great for microgreens. Keep them on for about 12-16 hours a day.
- Consistent Light: Make sure your microgreens get consistent light every day. This helps them grow evenly and strong.
Temperature Control for Growth Stages
- Germination Stage: During this stage, a bit warmer temperature helps seeds sprout. Aim for around 65-75°F.
- Post-Germination: Once they start sprouting, keeping the temperature steady is key. Avoid big changes in temperature.
- Different Needs: Remember, some microgreens might like it warmer or cooler. Check the specific needs of the varieties you’re growing.
Using Shading and Ventilation
- Shading: If it gets too sunny and hot, use shades or cloths to protect your microgreens from getting scorched.
- Ventilation: Good airflow is important. Use vents or fans in your greenhouse to keep the air moving and to control temperature and humidity.
Pest and Disease Control for Microgreens in a Greenhouse
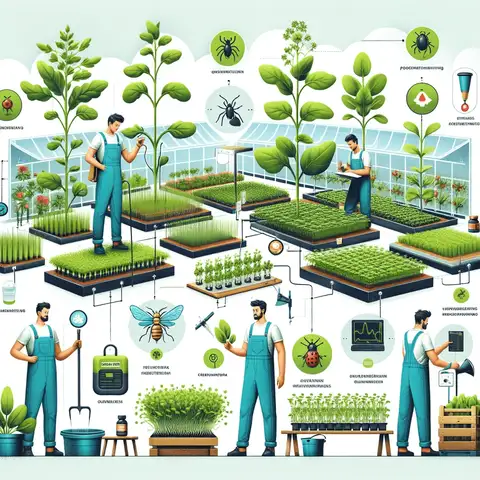
Here’s how to keep your mini greens happy and healthy in your greenhouse.
Common Pests and Diseases
- Fungus Gnats: These small flies love damp soil and can harm young plants.
- Aphids: Tiny bugs that can suck the sap from your microgreens.
- Mold and Mildew: These can grow in too-wet conditions and damage your plants.
Organic Pest Control Methods
- Neem Oil: It’s natural and works well against many pests. Just mix it with water and spray it on your plants.
- Insecticidal Soap: This is a gentle way to get rid of bugs without harming your microgreens.
- Beneficial Insects: Like ladybugs or predatory mites. They eat the bad bugs!
Chemical Pest Control Options
- Use only if necessary! It’s best to try organic methods first.
- Choose a pesticide that is safe for use on microgreens.
- Follow the instructions carefully to protect your plants and yourself.
Preventative Measures and Regular Monitoring
- Keep It Clean: A clean greenhouse is less inviting to pests.
- Check Your Plants Often: Look for signs of pests or disease, like chewed leaves or spots.
- Proper Watering: Avoid overwatering. Wet conditions can lead to mold and attract pests.
- Good Airflow: Make sure your greenhouse has good ventilation to prevent damp conditions.
Harvesting Your Microgreens
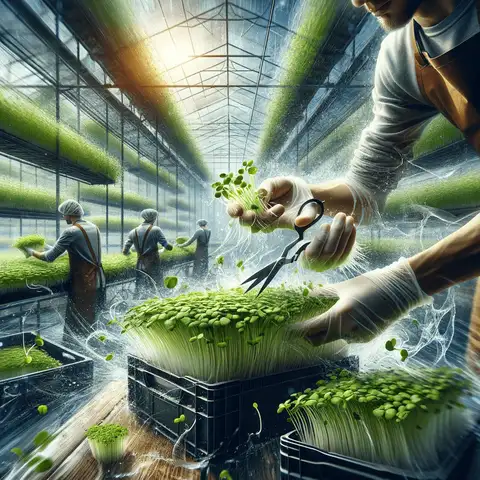
Hey, little gardeners! Are your microgreens ready to pick? Let’s find out when and how to pick these tiny, yummy plants!
When Are They Ready?
- How Tall Are They? If they’re about as tall as your finger (1-3 inches), they’re ready!
- First Real Leaves: After the tiny first leaves, watch for the bigger leaves. That’s a sign they’re ready.
- How Old Are They?: Most are ready in about 7-14 days after they start growing.
How to Pick Them
- Use Clean Scissors: Get a pair of scissors and make sure they’re clean. Snip the microgreens right above the soil.
- Be Gentle: They’re very soft. So, be careful not to squish them.
- Pick a Little at a Time: If you have lots, pick them in small groups. This keeps them fresh.
After Picking
- Wash Them: Rinse them softly underwater to get the dirt off. But be gentle!
- Dry Them Off: Use a paper towel or a salad spinner to make them dry.
- Keep Them in the Fridge: Put them in a box or a bag and keep them in the fridge. They’ll stay good for about a week.
- Don’t Squash Them: Put only a few in one box. They need room to breathe.
- Picking your microgreens is like finding treasure in your garden. Have fun picking and eating your tiny, tasty greens!
Marketing and Selling Your Microgreens
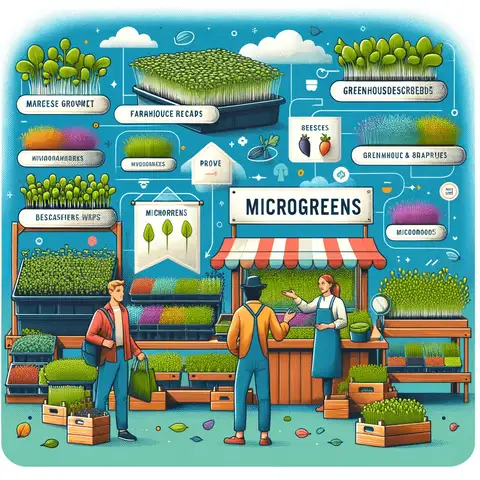
So, you’ve grown a bunch of tasty microgreens in your greenhouse. Now, let’s talk about how to sell.
Strategies for Selling Microgreens Locally
- Farmers’ Markets: This is a super place to start. Set up a stall and show off your fresh microgreens.
- Local Grocery Stores: Talk to local stores about stocking your greens.
- Community Events: Get involved in local fairs or events. It’s a way to meet people and sell your microgreens.
Building Relationships with Restaurants and Markets
- Chef Demos: Offer to do a tasting for chefs. Let them see and taste how awesome your microgreens are.
- Consistent Quality and Supply: Make sure you can provide a steady and reliable supply of good-quality microgreens.
- Understanding Needs: Learn what types of microgreens they prefer and how they use them.
Packaging and Branding Tips
- Eye-Catching Packaging: Use clear, clean packaging so your microgreens are visible. People eat with their eyes first!
- Branding: Create a cool logo and use it on your packaging and marketing materials.
- Labeling: Include labels with the type of microgreen, date of harvest, and how best to store them.
- Eco-friendly Options: Since microgreens are a ‘green’ product, eco-friendly packaging can be a big selling point.
Conclusion
We’ve had a fun time learning about Growing microgreens in a greenhouse.
Additional Resources for Greenhouse Microgreen Farming
Check out these awesome books, websites, and groups:
Books for Learning
- “Microgreen Garden”: A book that teaches you how to grow microgreens inside.
- “Year-Round Indoor Salad Gardening”: This book shows how to grow little greens any time of the year.
Additional Resources for Greenhouse Microgreen Farming
To further your journey, here are some recommended resources:
Websites
- Johnny’s Selected Seeds (johnnyseeds.com): Great for buying seeds and finding growing tips.
- Microgreens Farmer (microgreensfarmer.com): Offers courses and resources on starting a microgreen business.
Online Forums and Communities
- GardenWeb Forums (houzz.com/gardenweb): Connect with other gardeners and share tips.
- Reddit’s Microgreens Community (reddit.com/r/microgreens): A place to discuss everything about microgreens.
The world of microgreens is waiting for you. Happy growing, and enjoy the delicious, nutritious bounty of your greenhouse!


